
Mycelarium Food Guide: Every Source Ranked
Where Mycelarium food comes from, which source fits each stage, and how to recover when the food counter hits zero.
Food is Mycelarium's build currency. Nodes, mushrooms and upgrades to your production all compete for it, and the counter at the top of the screen is the real limit on how fast the colony takes shape. Water gets the attention because it is spent constantly, but food is what decides whether a plan is possible.
There are five food sources in the current build, and they arrive in a rough order: surface pockets, leaf litter through Absorption, worms through Protein Absorption, Predator Mushrooms, and trees through the Consumptor. This guide ranks them by phase and explains the transition points.
What counts as food?
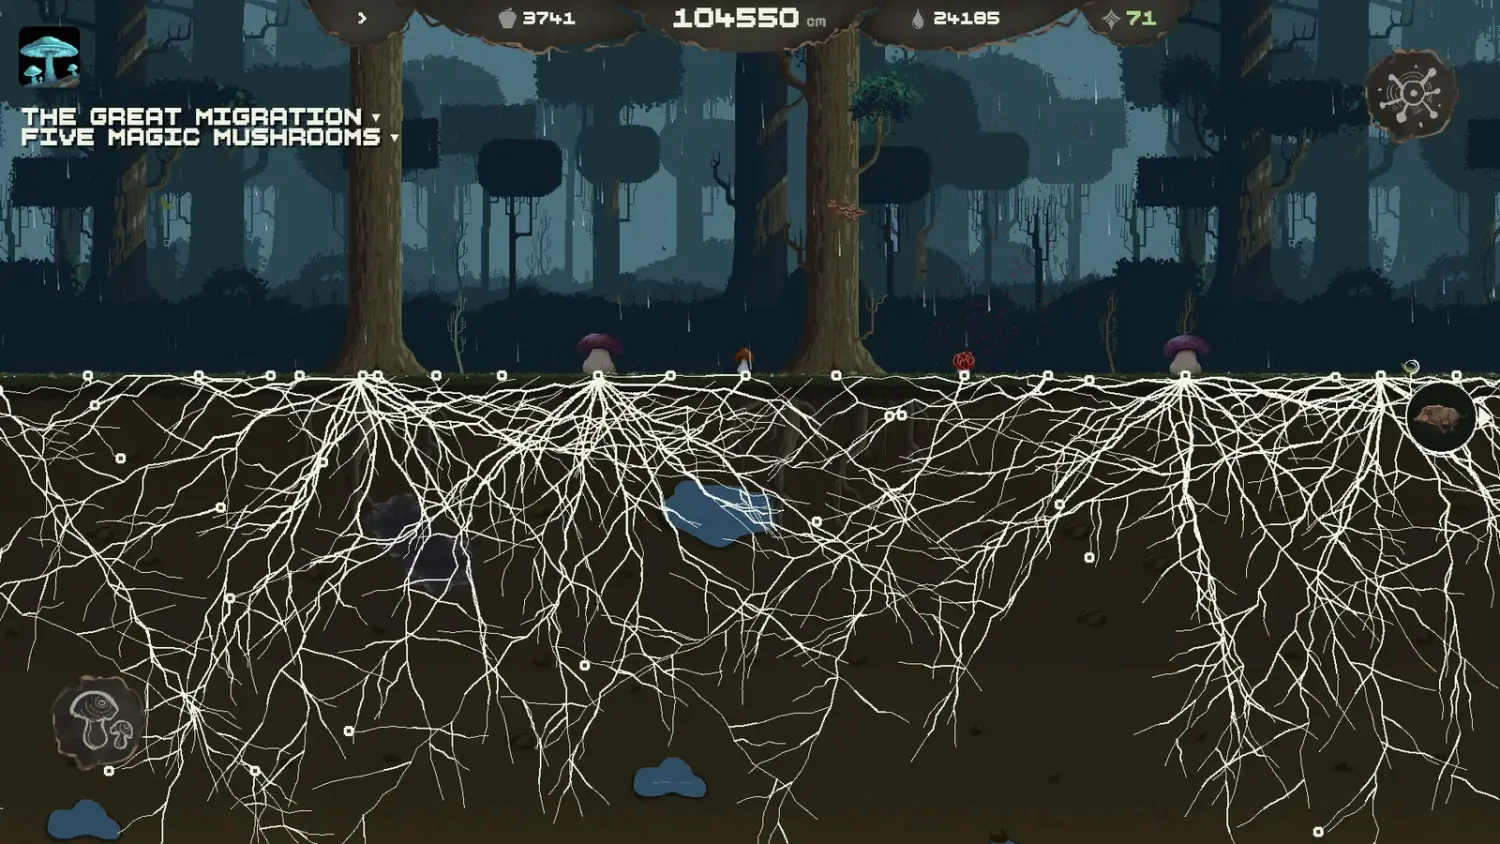
The HUD uses a mushroom icon for food. It is spent when you add nodes and when you build mushrooms. A food price reduction therefore improves everything you construct, which is why the Flora Shroom's Reduces food price for all mushrooms by 25% is one of the strongest finds in the game.
Food is not consumed by time. A network with no construction activity does not drain food, so a surplus is safe to hold. The danger is spending it all on structures that do not produce.
Stage 1: surface food pockets
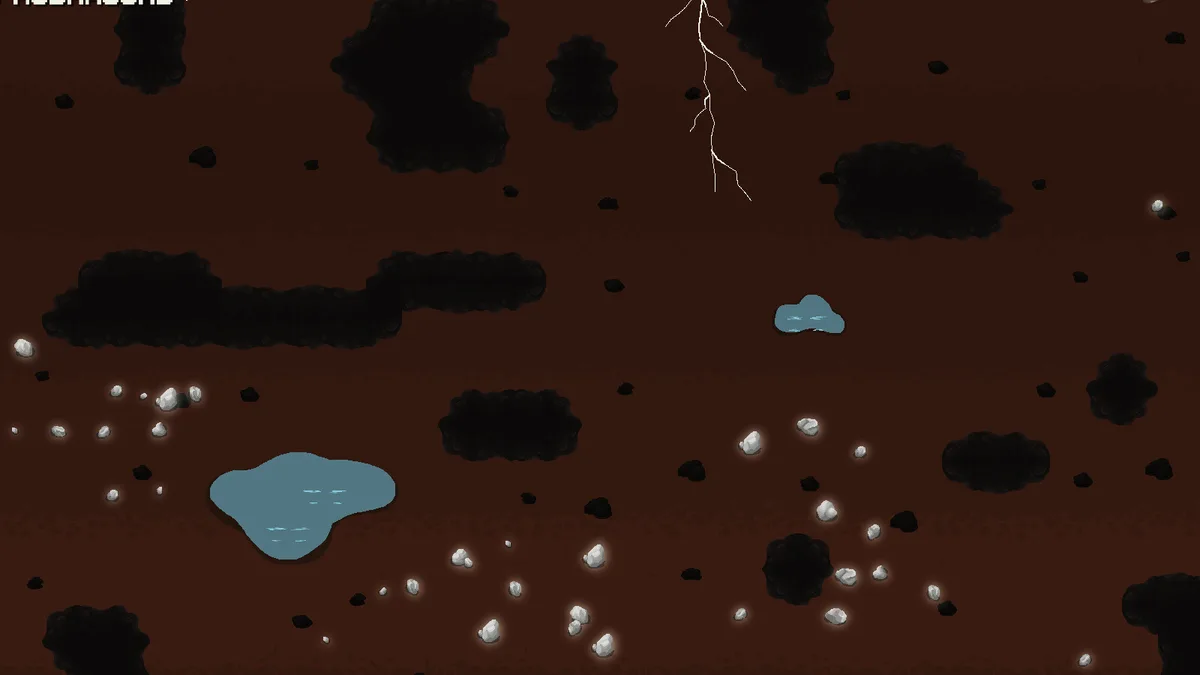
The first source is the small clusters on the surface. They are enough to fund the opening network and the first mushroom, but they run out or become too far away as the network widens. Treat them as seed capital, not as an income stream.
The practical rule is to grow toward a pocket before you need it. If the food counter is falling and no pocket is connected, stop building and extend toward the nearest cluster.
Stage 2: leaf litter and the Absorber
The Absorber branch converts decaying leaves into food. Community reports put the unlock at three points, and describe it as slower but safer than a Predator Mushroom because leaf litter keeps appearing and does not require animals.
This is the upgrade that ends the early famine. Once it is running, the food counter refills without you clicking, which frees water and attention for exploration. If you are choosing between an Absorber and a second Predator, take the Absorber first unless you already have animals under control.
Stage 3: worms and Protein Absorption
Protein Absorption lets the network take food from worms. It is a branch off the Absorber family rather than a standalone building. In practice it adds a second trickle in areas where leaf litter is sparse, and it pairs well with a network that already covers a lot of ground.
It is not a replacement for the Absorber. Think of it as diversification: two small sources are more resilient than one large source that happens to be at the frontier.
Stage 4: Predator Mushrooms
Predator Mushrooms produce food directly. They are the first source you can scale by building more, and the achievements Small Factory (20 Predators) and Industrial revolution (100 Predators) confirm that the developers expect players to build them in numbers.
Two cautions:
- A Predator costs food to build, so it is a loan. Do not build one when the counter is at zero.
- Predators need to be defended. Crows and squirrels steal mushrooms, and a frontier Predator is an easy target.
Place them inside the defended part of the network, near the nodes that need food most. The animals guide→ covers the defence layout.
Stage 5: trees and the Consumptor
Trees are the late-game food source. The Consumptor Mushroom consumes a full tree and converts it into a large supply. The achievement Like French Fries asks for 15 full-scale trees, which tells you both the scale and the intended repeatability.
Trees also support surface mushrooms. The evolution task Build 2 Mushrooms on trees confirms that some structures can be placed on trunks. A tree with a Consumptor and a Water Mushroom is a self-contained outpost, and players report using pairs of trees as defensive anchors.
The trees guide→ covers placement, the Consumptor branch, and the tree-side defence that keeps animals away.
How do you recover from zero food?
Zero food is the most common stall in the game. The recovery order is:
- Stop all construction.
- Grow along existing nodes toward leaf litter. Do not start a new direction.
- If it is raining, take the long shots now; growth is reported to be free.
- Build an Absorber as soon as the points allow.
- Only then consider a Predator, and only if you can afford the build cost.
Restarting is almost never necessary. The network and the map persist, and length already earned is not lost.
Water pays for growth. Food pays for structure. If the food counter is empty, a full water bar will not let you place a node or a mushroom.
Which source should you use?
| Phase | Source | Strength | Weakness |
|---|---|---|---|
| Opening | Surface pockets | Free, immediate | Runs out, far apart |
| Early | Absorber | Passive, safe | Slow |
| Early-mid | Protein Absorption | Adds diversity | Needs worms nearby |
| Mid | Predator Mushrooms | Scalable | Costs food, needs defence |
| Late | Consumptor + trees | Very large | Needs trees and defence |
The transition that matters most is pockets to Absorber. Players who skip it spend the whole early game manually hunting food and conclude the game is slow. It is not slow; it is waiting for that branch.
FAQ
What is the fastest early food source?
Surface pockets are fastest at the very start. The Absorber is the fastest stable source because it does not require travel or animals.
Do Predator Mushrooms consume food to produce food?
They cost food to build. Once built, they produce; the net effect is positive if they survive.
Is the Flora Shroom worth hunting?
Yes. Its confirmed effect reduces the food price of all mushrooms by 25%, which compounds with every later build.
Can trees run out?
The Consumptor consumes a full tree, so a tree is a finite reserve. Treat each tree as a large payout, not an infinite farm.
Official source: Mycelarium on Steam ↗ Official source: Achievements list ↗
The Steam discussions hub ↗ contains player explanations of the Absorber unlock and leaf-litter behaviour; the achievement page ↗ shows the unlock rates for the Predator and Consumptor milestones.