
Mycelarium How to Play Guide: The First Hour
A practical first hour in Mycelarium: what to grow, when to build your first mushroom, and how to avoid a starved network.
The first hour of Mycelarium decides whether the next three are a steady expansion or a rescue operation. The safe route is to build a compact surface network, secure one water pocket, unlock the Absorber branch, and only then push underground. This walkthrough gives that route in time blocks, with the reasoning behind each decision.
There is no timer and no fail state, so the blocks are guidance rather than rules. If a water pocket is farther away than expected, spend longer on the surface. If food is plentiful, move faster. The only hard constraint is the two-currency economy: water pays for distance, food pays for structure.
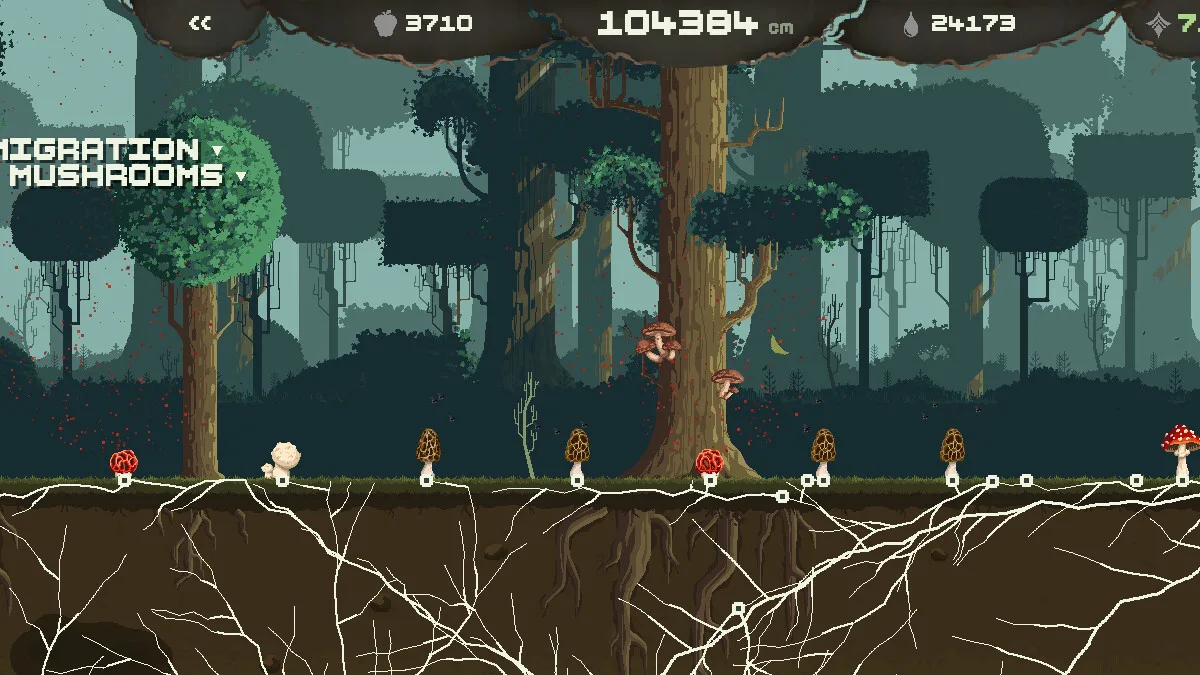
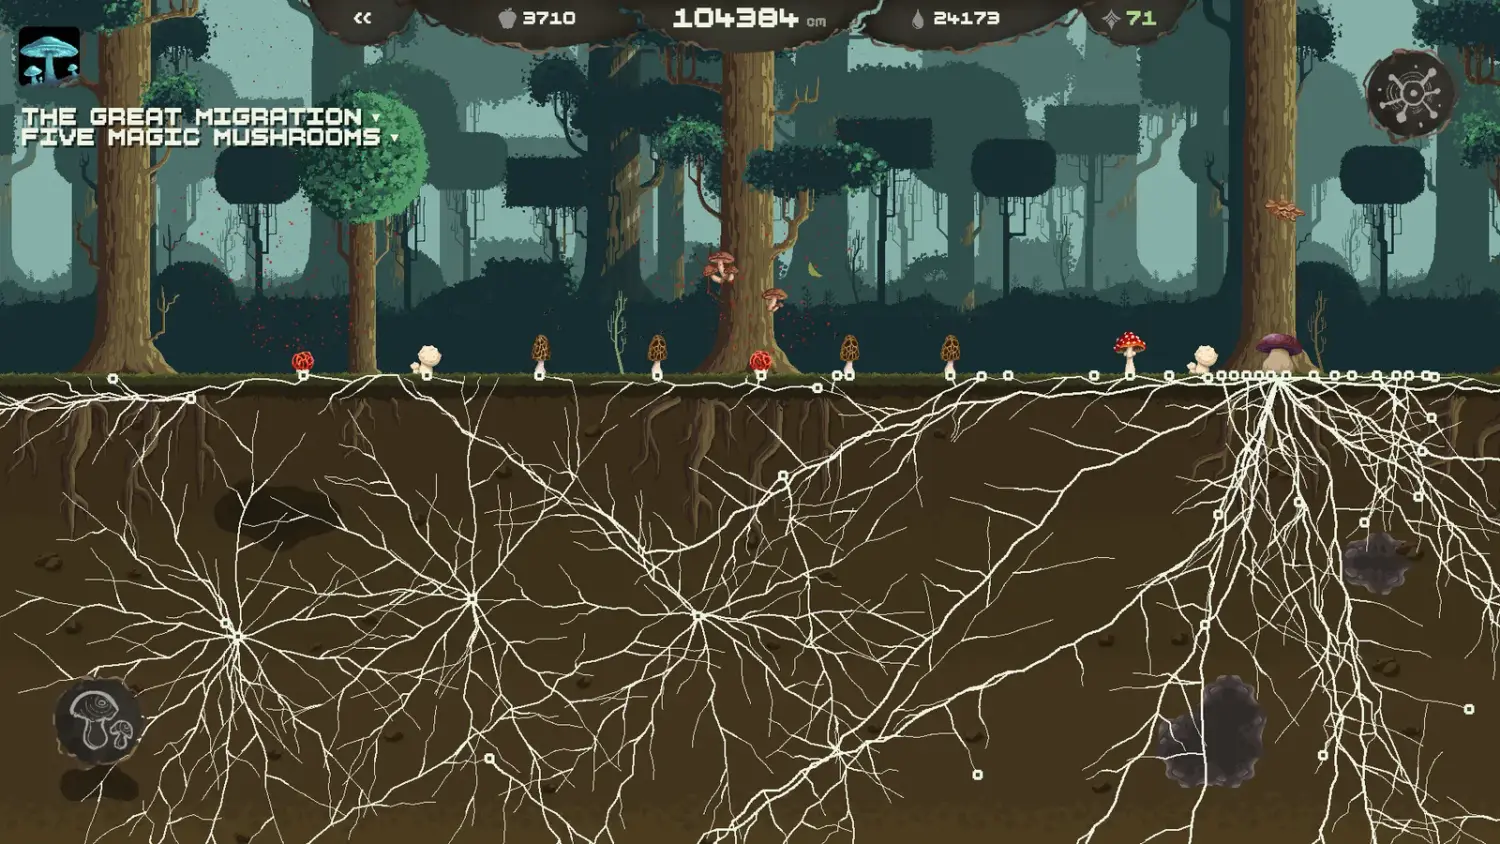
Minutes 0–10: build a base, not a highway
Start from the initial mushroom and grow a network two or three nodes wide in every direction. Short shots are cheap and keep the camera readable. Your goals in this block are:
- Find the first food pockets and top up the food counter.
- Reach the first water pool without crossing stone.
- Learn the cost preview:
cmgained versus water spent.
Do not aim for a distant silhouette yet. A long shot that lands in hard soil wastes water and tells you nothing. Compact growth also gives you more nodes to click, which matters because every future shot starts from an existing node.
Minutes 10–20: solve food before it becomes a wall
The first stall is almost always food, not water. New nodes stop being affordable while the water bar still looks healthy. Players describe the moment as "nothing happens when I click", and the cause is an empty food counter.
Two fixes are available early:
- Absorption node. Converts decaying leaves into a slow food trickle. It needs three upgrade points according to community reports, and it is the safest long-term source because leaf litter keeps appearing.
- Predator Mushroom. Produces food directly. It costs food to build, so it is a loan against future income, not a rescue when you are already at zero.
If you are at zero food and have no Absorber, the cheapest recovery is to grow along already-existing nodes toward leaf litter and wait for the next rain. Growth during rain is reported to be free, which lets you reposition without spending water.
Minutes 20–35: take the exchange-rate upgrades
With food stable, spend points on the upgrades that make every later click cheaper:
- Shot range — fewer shots to cross the same ground.
- Water efficiency — less water per centimetre.
- Absorber — the food trickle described above.
- Soil penetration — the key to the first underground layer.
Avoid mushroom-specific branches until you have the mushroom. Predator Yield is excellent once a Predator exists and useless before. The progression guide→ explains how points are earned; the short version is that length generates experience, and evolution tasks pay bonus points.
The task panel pays points for things you were going to do anyway: grow 10,000 cm, drink from underground pools, build five mushrooms, scare a hedgehog. Check it before you spend a session on a vanity project; the bonus often funds the next upgrade.
Minutes 35–50: connect water, then go down
By now you should have one pool connected and a food source running. The next step is the first underground layer, Brown Dirt. It contains water reservoirs and the first magic shroom alcoves, and it is reachable with modest Soil Penetration.
Go down with a plan:
- Send one branch, not the whole network.
- Stop at stone and look for a gap rather than forcing the same line.
- If the branch finds a pool, connect it and treat it as a forward base.
- If it finds only dirt, return to the surface and upgrade penetration before spending more.
The underground layers guide→ maps what each layer contains and how the stone mazes are laid out.
Minutes 50–60: stabilise before you optimise
The last block is about leaving the run in a state you can return to. Check four things:
- Food income exceeds the cost of routine mushroom maintenance.
- Water is not trapped in a single pool at the frontier.
- At least one Predator Mushroom is producing, and one Absorber is running.
- You have not built a mushroom you cannot afford to keep.
If any of those is false, fix it before chasing a magic shroom or the next layer. A stable network grows on its own; an unstable one consumes every session.
What should you have by the end of the hour?
A reasonable first hour looks like this:
- 10,000–50,000 cm of network, depending on how much you explored.
- One or two Predator Mushrooms and one Absorber.
- At least one connected underground pool.
- Four to eight upgrade nodes unlocked.
- Possibly one magic shroom found, but not a completed set.
If you are far below that, the cause is usually water spent on long shots or food spent on mushrooms that do not produce. Both are recoverable. Slow down, shorten the shots, and let the rain do the expensive work.
FAQ
How long should the first hour take?
It is a session, not a speedrun. The time blocks are pacing guides; a careful player can spend two hours in the same content and still be on track.
Should I follow the quest panel?
Yes, when it aligns with your bottleneck. The tasks pay points for normal play, and the points fund the upgrades that make the next block easier.
Is it bad to explore underground early?
Only if you cannot afford the return trip. A single branch with a nearby pool is safe; a wide underground push without food income is how runs stall.
What if I run out of food completely?
Grow toward leaf litter along existing nodes, wait for rain to expand for free, and build an Absorber as soon as you can afford the points. Do not build a Predator you cannot pay for.
Official source: Mycelarium on Steam ↗ Official source: Demo 2.0 announcement ↗
The Steam discussions hub ↗ contains player reports on early food stalls and rain behaviour; the achievements page ↗ shows how many players pass the 50,000 cm mark.